Hey there, fellow flavor outlaws and spice renegades! Tired of those boring bar-style pickled eggs that taste like they’ve been sulking in plain vinegar forever? Well, saddle up, because we’re about to turn your fridge into a wild west showdown with these Rogues Cowboy Candy Pickled Eggs. Sweet like stolen honey, spicy like a rogue’s glare, and tangy enough to wake the dead – this recipe borrows the legendary “cowboy candy” vibe (you know, those addictive candied jalapeños) and levels up hard-boiled eggs into something downright addictive.

Picture this: It was a scorching afternoon at the Rogues Oasis, eggs piling up from the coop, peppers bursting from the garden, and a mad craving for something that bites back. We raided the spice rack, tossed in our infamous Death Pepper mix, and boom – these jars of pure rebellion were born. One bite and you’ll be hooked faster than a bandit on the run. They keep in the fridge for 4-6 weeks (yeah, right – good luck making them last that long). Let’s rustle up some magic!
Find the full lineup of Rogues Oasis heat weapons, including our Death Pepper Mix, in the store here.
Ingredients (Makes: 4 pint jars – plenty for snacking, sandwiches, or sharing with your crew)
- 12 hard-boiled eggs (peeled and ready to rumble)
- 2 cups apple cider vinegar (the tangy trail boss)
- 1 ½ cups sugar (for that sweet cowboy candy kiss)
- 1 ½ tablespoons molasses (deep, smoky richness – don’t skip it!)
- 4–8 cloves garlic, crushed and roughly chopped (vampire-repelling gold)
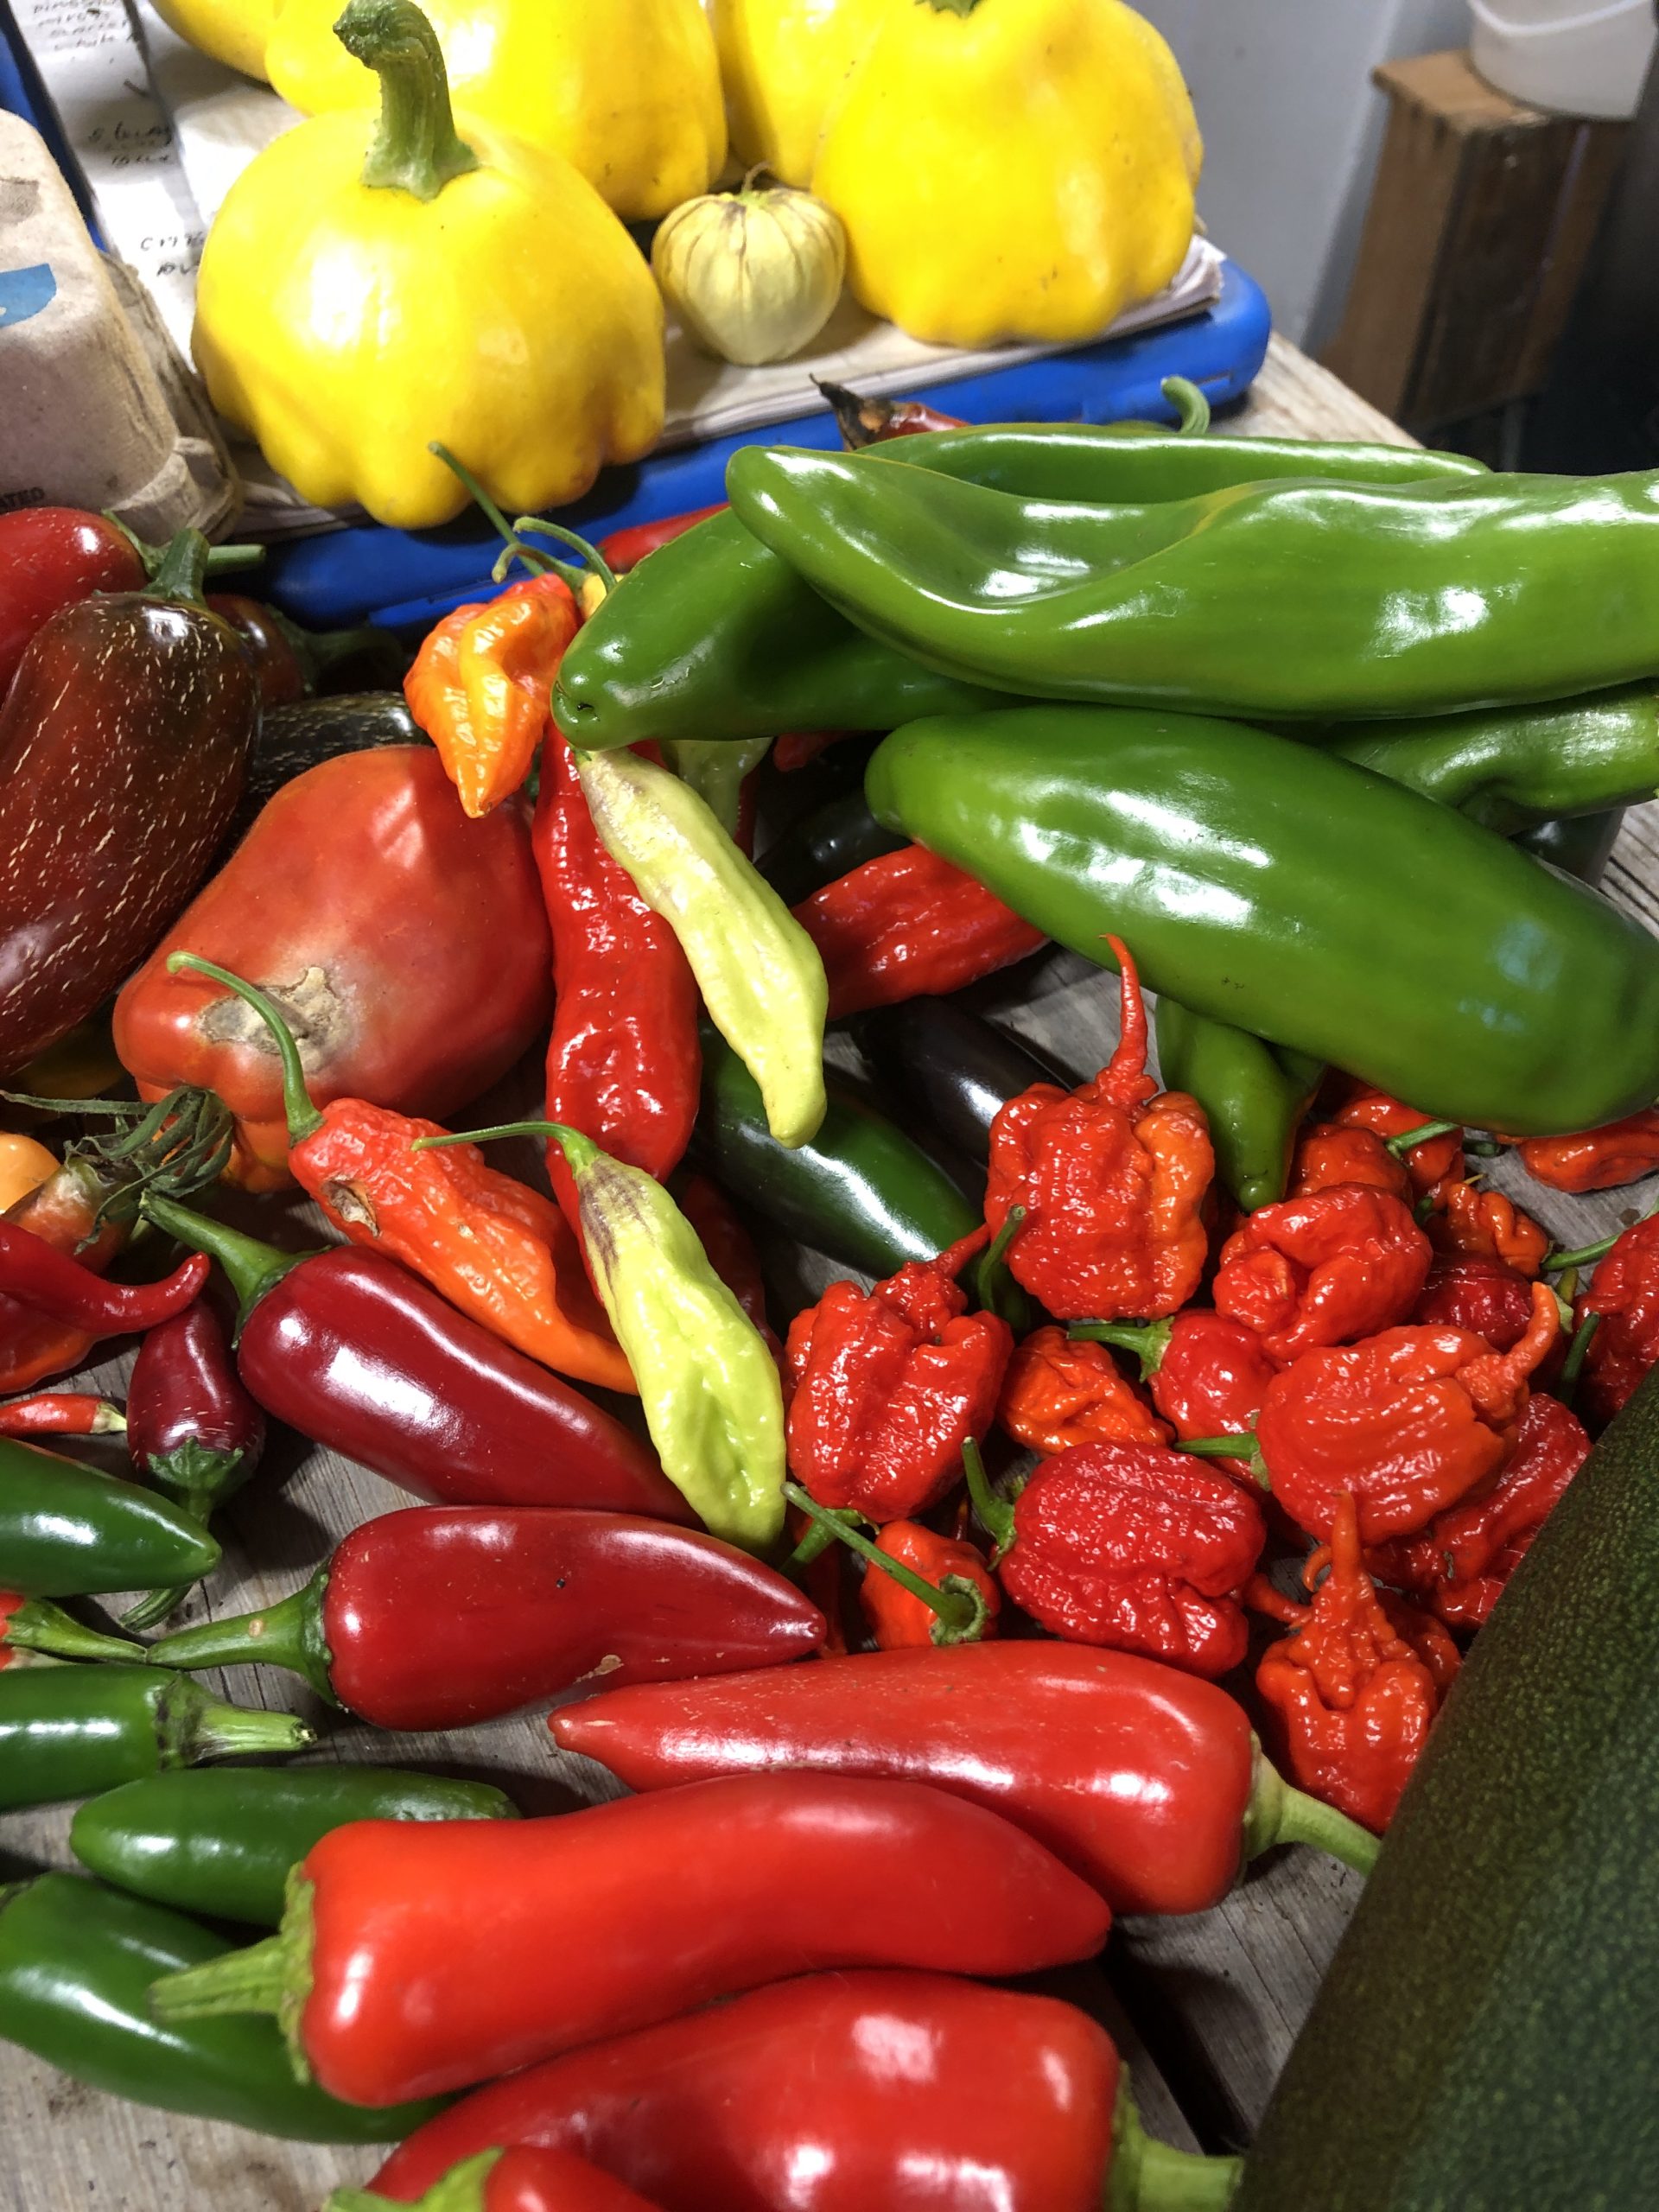
- ¼ teaspoon cayenne pepper (grab premium stuff from the Rogues Oasis store for max firepower)
- 1 teaspoon garlic powder (also available at the Oasis – because garlic rules)
- 1 teaspoon Rogues Death Pepper Mix (regular or Chipotle blend – grown, harvested, and processed right here at the Oasis for that next-level inferno)
- 1 medium onion, roughly chopped (sweet and punchy chunks)
- 1 bell pepper, roughly chopped (color and crunch – red or yellow for extra swagger)
Equipment You’ll Need (The Outlaw’s Toolkit)
- 4 wide-mouth pint-sized Mason jars (with rings and lids – clean and ready)
- One big pot for the brine
- Canning funnel (optional but saves messy spills)
Instructions: Brine Like a Rogue Boss
Boil the Eggs Perfectly (No Cracks, No Drama): Drop your dozen eggs into a pot, cover with cold water, and bring to a rolling boil. Let ’em boil for 10 minutes, then kill the heat, slide the pot off the burner, and let them sit for another 10. Run cold water over them for 10 more minutes – they’ll peel like a dream. Pro move achieved!
Jar the Troops: Divide the peeled eggs evenly – 3 per jar. Stand ’em up like little soldiers in those wide-mouth Mason jars. Set aside and look proud.
Whip Up the Magic Brine: Toss everything else into a pot: vinegar, sugar, molasses, garlic, cayenne, garlic powder, Death Pepper Mix, onion, and bell pepper. Crank the heat and bring it to a full boil, stirring until the sugar dissolves like it’s surrendering. Drop to a simmer for 5–10 minutes so the flavors mingle, infuse, and get rowdy.
Fill ’Er Up: Carefully ladle the hot brine over the eggs using a funnel (leave about ½ inch headspace at the top – room to breathe). Wipe rims if needed, slap on the lids and rings finger-tight, and let the jars cool on the counter until they’re just warm (or room temp). No water-bath canning here – these are fridge rebels.
The Hard Part (Patience, Partner): Stash them in the fridge for at least 3 days. But here’s the truth: wait a full week if you can stand it. That’s when the sweet heat and tang truly explode. Your willpower will be tested, but the payoff is legendary.
Devour Like a Desperado: Ways to Enjoy Your Bounty
Break these beauties out for:
- Straight snacking – slice one in half and savor the glory
- Egg salad that slaps harder than ever
- Epic sandwiches (my favorite below)
Ultimate Sandwich Hack: Use an egg slicer for perfect rounds, layer on fresh bread (bonus points for Rogues Oasis sourdough – grab freeze-dried starter from the store if you’re not local to Victoria and bake your own), then scoop garlic, onion, and pepper chunks straight from the brine on top. Add cheese, a pinch of salt and pepper… damn, that’s a sandwich worth robbing a stagecoach for.
Fun Twists & Heat Levels: Make ’Em Your Own
- Milder Trail: Cut the Death Pepper Mix and cayenne in half – still tasty, less outlaw.
- Extra Bandit: Double the Death Pepper or toss in fresh Oasis-grown jalapeños for true cowboy candy vibes.
- Herb Heist: Add fresh dill, mustard seeds, or a bay leaf per jar for new frontiers.
Pro Tip: These jars are fridge-only gold for 4–6 weeks, but they disappear way faster. Use leftover brine (with all those flavorful bits) as a salad dressing base or bloody mary booster. Waste nothing, rogue!
Happy pickling, Oasis crew – may your eggs always pack heat, your sandwiches hit legendary status, and your fridge never run dry. Ride bold and spice on!
Rogues’ Cowboy Candy Pickled Eggs: Sweet Heat, Outlaw Style
Equipment
- Equipment You’ll Need (The Outlaw’s Toolkit)
- 4 wide-mouth pint-sized Mason jars (with rings and lids – clean and ready)
- One big pot for the brine
- Canning funnel (optional but saves messy spills)
Ingredients
Ingredients (Makes: 4 pint jars – plenty for snacking, sandwiches, or sharing with your crew)
- 12 hard-boiled eggs peeled and ready to rumble
- 2 cups apple cider vinegar the tangy trail boss
- 1 ½ cups sugar for that sweet cowboy candy kiss
- 1 ½ tablespoons molasses deep, smoky richness – don’t skip it!
- 4 –8 cloves garlic crushed and roughly chopped (vampire-repelling gold)
- ¼ teaspoon cayenne pepper grab premium stuff from the Rogues Oasis store for max firepower
- 1 teaspoon garlic powder also available at the Oasis – because garlic rules
- 1 teaspoon Rogues Death Pepper Mix regular or Chipotle blend – grown, harvested, and processed right here at the Oasis for that next-level inferno
- 1 medium onion roughly chopped (sweet and punchy chunks)
- 1 bell pepper roughly chopped (color and crunch – red or yellow for extra swagger)
Instructions
- Boil the Eggs Perfectly (No Cracks, No Drama): Drop your dozen eggs into a pot, cover with cold water, and bring to a rolling boil. Let ’em boil for 10 minutes, then kill the heat, slide the pot off the burner, and let them sit for another 10. Run cold water over them for 10 more minutes – they’ll peel like a dream. Pro move achieved!
- Jar the Troops: Divide the peeled eggs evenly – 3 per jar. Stand ’em up like little soldiers in those wide-mouth Mason jars. Set aside and look proud.
- Whip Up the Magic Brine: Toss everything else into a pot: vinegar, sugar, molasses, garlic, cayenne, garlic powder, Death Pepper Mix, onion, and bell pepper. Crank the heat and bring it to a full boil, stirring until the sugar dissolves like it’s surrendering. Drop to a simmer for 5–10 minutes so the flavors mingle, infuse, and get rowdy.
- Fill ’Er Up: Carefully ladle the hot brine over the eggs using a funnel (leave about ½ inch headspace at the top – room to breathe). Wipe rims if needed, slap on the lids and rings finger-tight, and let the jars cool on the counter until they’re just warm (or room temp). No water-bath canning here – these are fridge rebels.
- The Hard Part (Patience, Partner): Stash them in the fridge for at least 3 days. But here’s the truth: wait a full week if you can stand it. That’s when the sweet heat and tang truly explode. Your willpower will be tested, but the payoff is legendary.
- Devour Like a Desperado: Ways to Enjoy Your Bounty
Notes
Milder Trail: Cut the Death Pepper Mix and cayenne in half – still tasty, less outlaw.
Extra Bandit: Double the Death Pepper or toss in fresh Oasis-grown jalapeños for true cowboy candy vibes.
Herb Heist: Add fresh dill, mustard seeds, or a bay leaf per jar for new frontiers. Pro Tip: These jars are fridge-only gold for 4–6 weeks, but they disappear way faster. Use leftover brine (with all those flavorful bits) as a salad dressing base or bloody mary booster. Waste nothing, rogue! Happy pickling, Oasis crew – may your eggs always pack heat, your sandwiches hit legendary status, and your fridge never run dry. Ride bold and spice on!
*Nutrition Disclaimer:
All information presented on this site is intended for informational purposes only. Nutrition facts are an estimate and not guaranteed to be accurate. I am not a certified nutritionist and any nutritional information shared on TheRoguesOasis.com should only be used as a general guideline.